A conversation on Twitter sparked today’s post since I had been wanting to make a new batch of komboucha and I had lots of great teas to try. This time I used 3 of my plain black Aldi’s tea bags and the entire sample pack of Taj Mahal from The Dollar Tea Club. (Use this referral code: REFB7XZYCZZ8Q to The Tea Club. We’ll both win and you get tea for as little as $3/month.)
I started making kombucha because I hoped it would help my fibromyalgia (I like it! I think my body does too!) and improve my gut health. I bought a few bottles at the store just to make sure sure I really liked it, but in my homesteading spirit, (plus my budget) I decided to make my own. I needed a clean gallon jar (repurposed a pickle jar) and I use coffee filters over the top with a rubber band to secure it.

I begin with the recipe from The Big Book of Kombucha, which is roughly 4-6 cups of sweet tea (Bring water to a low boil. Add 5 tea bags and 1 cup of sugar. Let steep for 10 minutes). This book may be a bit much to novice kombucha brewers, but it is chok full of great recipes, things you can do with your extra scobys (Symbiotic Culture of Bacteria And Yeast), since they grow a new layer with each batch, and more.
There are a lot of different guides to making kombucha and many different groups on Facebook and other networking platforms. One of the best way to learn (and to get your first scoby) is to talk to a friend who makes it. I procured my original scoby from my boss who introduced me to kombucha.
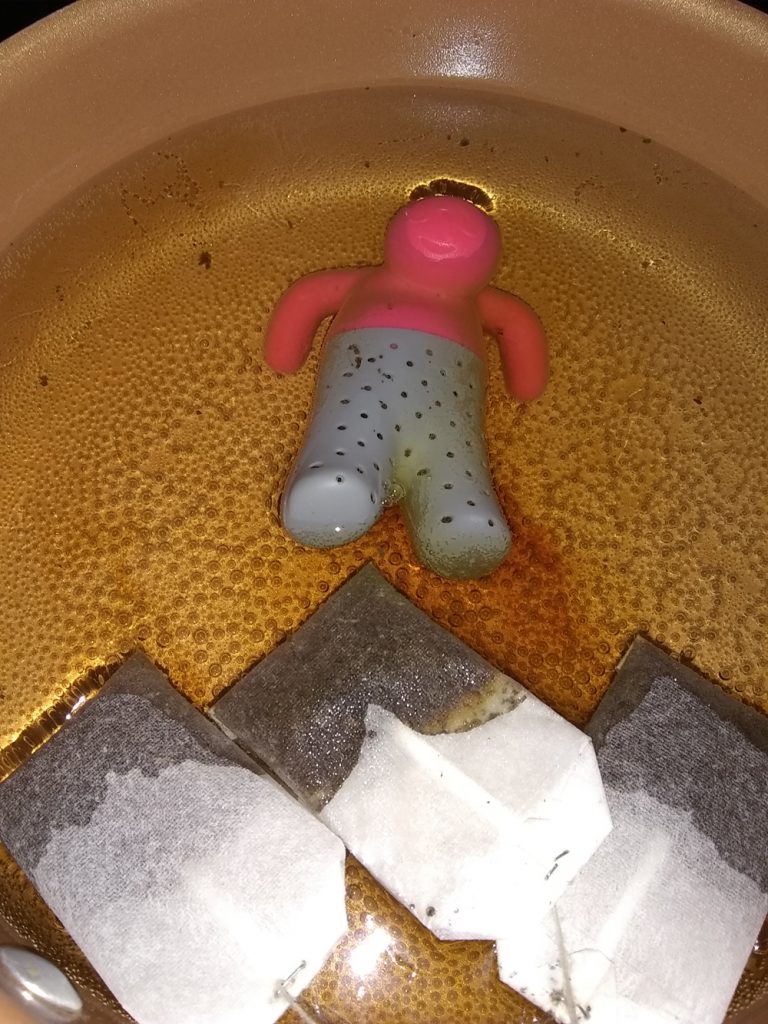
I use filtered water, both for making tea as well as for the additional liquid. While my water for my tea was boiling, I put roughly 4 cups of water in my gallon jar. This I used bottled, filtered water since we have a well. Then, when my tea water came to a low boil, I added my three tea bags and my silicone tea strainer with my Taj Mahal blend. I let it steep for roughly 10 minutes. You can see the below and after pictures below.

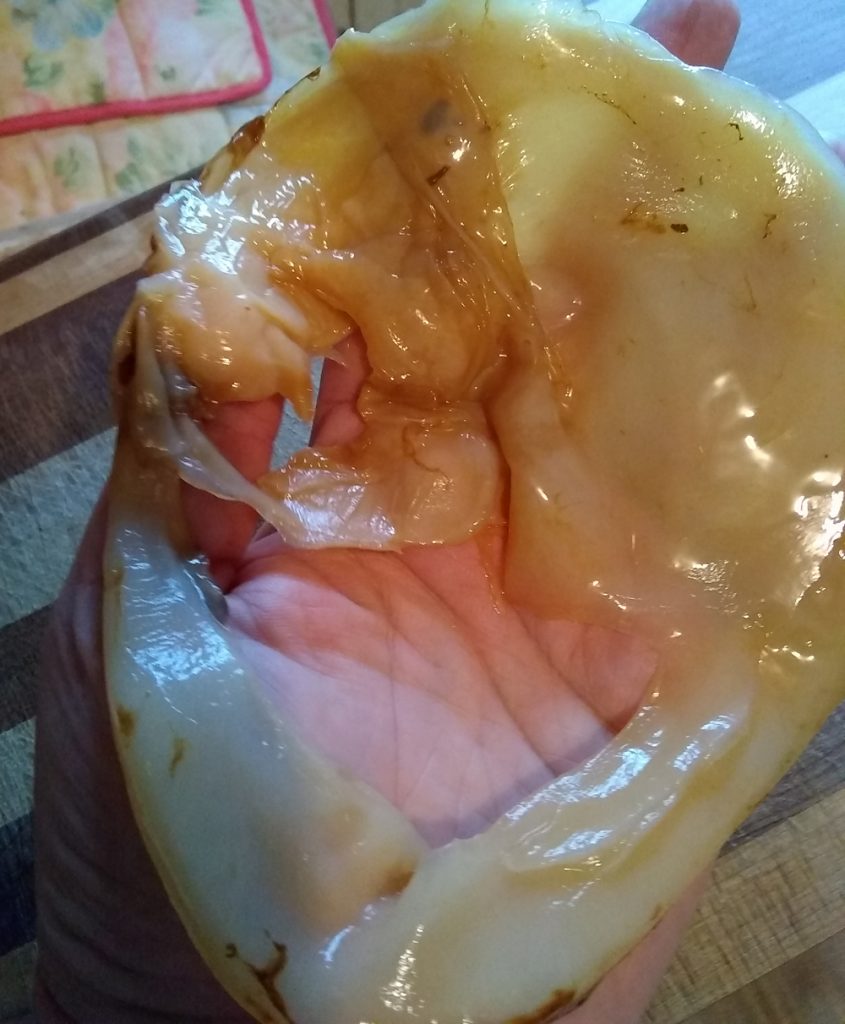
After checking to make sure “tea due” was all right (just kidding!), I poured this into my gallon jar with the plain water in it. This diluted the mixture so the temperature was just a little warmer than body temp, and it was safe to put my scoby in it. Now if you’re not used to seeing them, scobys look funky. They’re a colony of bacteria and yeast after all. They also grow a new layer with each brew, so this was a new baby scoby I peeled off the “mother.”
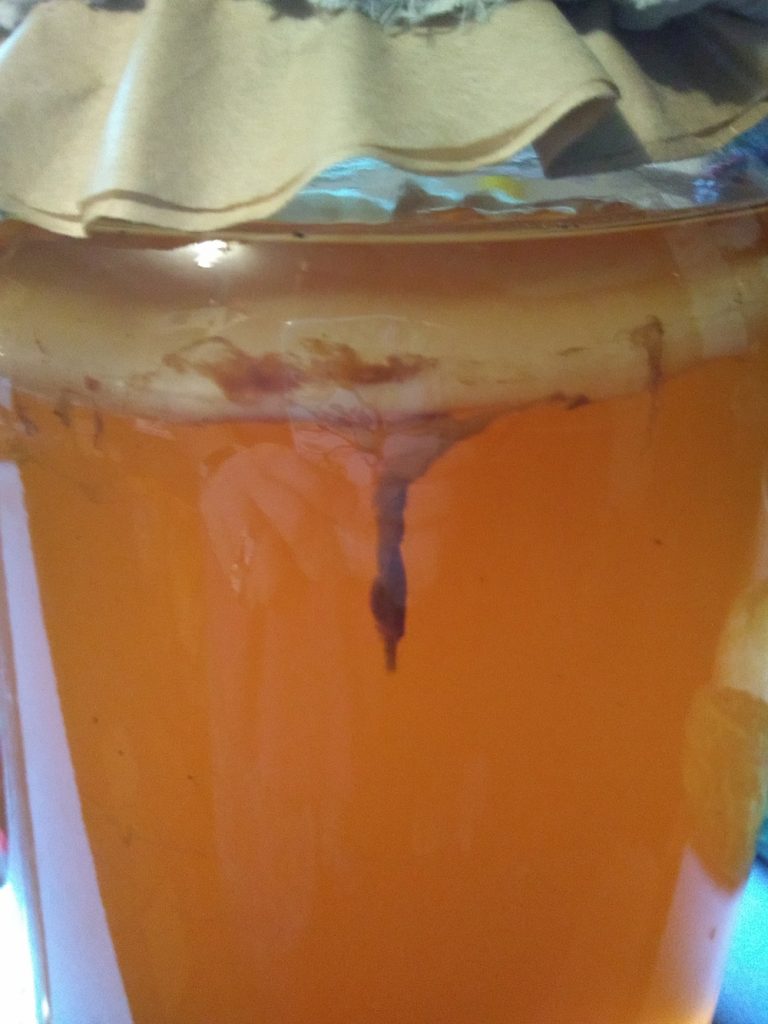
I gently laid this scoby on top of the tea mixture and then added 2 cups of starter liquid. This is what jump starts the fermentation. This initial mixture will ferment for up to 2 weeks depending on room temperature and your taste. When it’s done, you’ll strain out the scoby, keep back 2 cups of the starter liquid, and then bottle it for a second fermentation and then to drink it.
You’ll see that the mix will change over time as the scoby eats the sugar in the sweet tea. And it will grow another layer. There may also be things hanging from it or it will look “odd”. Don’t worry. Your scoby is a living creature and will change throughout its life.
I cover the jar with several coffee filters and a cloth that has elastic to keep any environmental contaminants out. I’ll update this when I bottle! I hope this inspires you to try kombucha.